PENNYWISE MAINTENANCE
Your Key to Thrifty Homecare!
LEARN.
SAVE.
MAINTAIN.


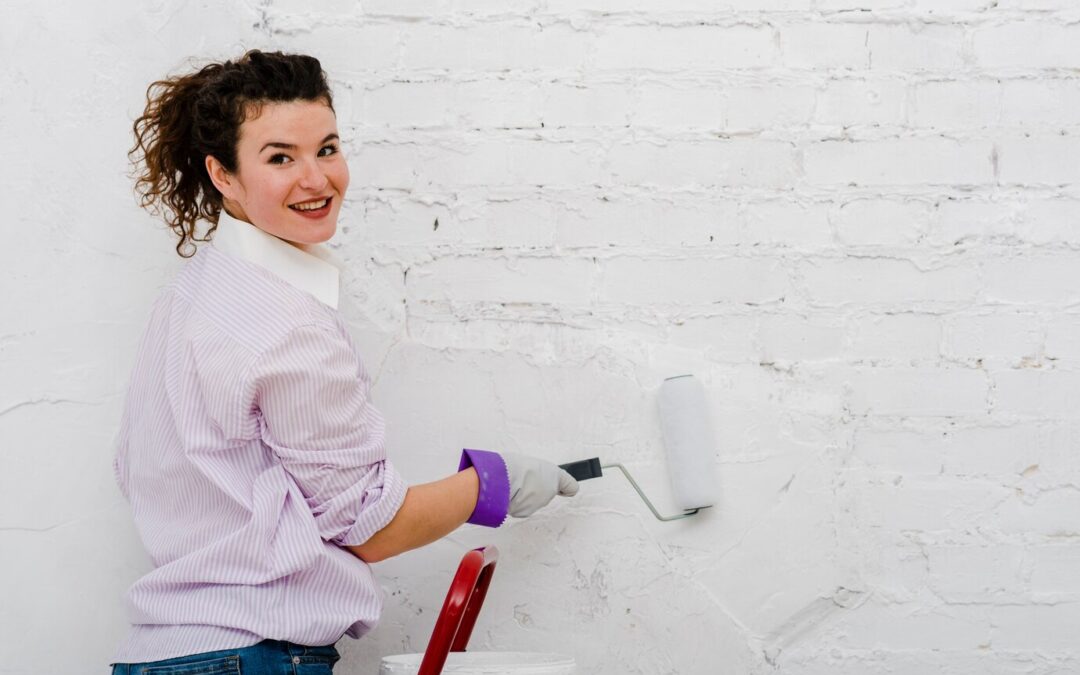
10 Affordable Home Improvement Projects Under $100
Improving your home doesn't have to break the bank. In fact, there are plenty of budget-friendly projects that can enhance your living space without costing a fortune. From simple upgrades to creative DIY solutions, we've compiled a list of 10 affordable home...

How to Repair a Running Toilet on Your Own
A running toilet can be a frustrating and wasteful plumbing issue that not only affects your water bill but also disrupts your daily routine. Fortunately, many common causes of a running toilet can be addressed with simple DIY repairs, saving you time and money. In...

10 Simple Ways to Save Money on Home Maintenance Costs
Home maintenance is essential for keeping your property in good condition, but it can sometimes feel like a drain on your finances. The good news is that there are plenty of simple and cost-effective ways to maintain your home without breaking the bank. By being...
Don’t Break the Bank,
Fix It with Pennywise Maintenance!
HOT TOPICS
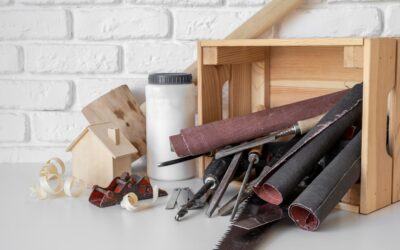
How to Build a Basic Toolkit for Home Maintenance on a Budget
Embarking on home maintenance projects doesn't have to be daunting or expensive. With the right tools at your disposal, you can tackle a wide range of tasks efficiently and effectively without breaking the bank. In this article, we'll guide you through the process of...
Free Online Courses for Learning DIY Home Repair Skills
In the digital age, the world of Do-It-Yourself (DIY) home repairs has never been more accessible. Thanks to the abundance of free online courses, homeowners and enthusiasts alike can now learn essential repair skills from the comfort of their own homes. Whether...
DIY Shelving Solutions: Affordable Ways to Maximize Storage Space
In every home, there's always a need for extra storage space to keep belongings organized and clutter-free. Fortunately, you don't have to break the bank to achieve functional and stylish storage solutions. With a bit of creativity and some basic DIY skills, you can...


